Wednesday, March 16, 2011

Good bye

Wave goodbye
Image

This past week I have slowly realised that I have taken on far too much and that my 'busy' life has been a big part of me developing post natal depression. So I am sorry to say that this will be my last blog post. I have truly enjoyed the past few years getting to know you all but now it is time for me to return to the real world and focus on what is really important to me - my health, my girls, my family, my friends and my study.

So thank you deer readers - I will miss you all.

Tuesday, March 15, 2011

20 Sweets in 20 Weeks - Voting Time!

I will post the almond buttercrunch tomorrow, but in the mean time it is time to vote for the sixteenth sweet, and this time you are voting for...


No Bake Slice!

Lemon Mallow


Peanut Butter Museli


Maple Caramel


You know what to do - get voting using the poll on the right hand side!

Monday, March 14, 2011

Move it to Lose It - Week 12 (The End!)

Move it to lose it - 12 Week Challenge

Starting weight: 75.2kg 
Previous weight: 71.1kg 
Current weight: 70.1kg
Total Weight lost: 5.1kg

Finally the end of my 12 week challenge - and luckily I am finishing it off on a high note. I lost 1 kilogram in the past week, which means I was oh so close to getting under the 70 kilogram mark - but didn't quite make it. Next week I should definitely be back in the sixties again.

I also took my measurements again this morning and I'm pretty darn happy with the results...

Bust: 102cm -> 97cm (-5)
Chest: 87cm -> 82cm (-5)
Waist: 89cm -> 85cm (-4)
Hips: 106cm -> 103cm (-3)
Thighs: 58.5cm -> 55.5cm (-3)
Calves: 38cm -> 36cm (-2)
Upper arm: 28.5cm -> 27cm (-0.5)
Forearm: 26cm -> 25.5cm (-0.5)

Every part of me got smaller and I can really tell because all of my clothes are way to big for me now - it is such a great feeling!

At the end of my challenge I am happily under my pre-pregnancy weight and I'm ready to keep on going until I reach my ultimate goal weight of 60kg. I'm hoping that by my birthday (August 1st) I will be able to make it there. So thanks for cheering me on through this journey and wish me luck for the months ahead!

Sunday, March 13, 2011

♥ Weekly Favourites ♥

Bordeaux - macarons
Image

Can you believe I still haven't tried a macaron? I really need to rectify that soon.


Image

How cute is this bedroom - I love the bright white walls, the cute toddler bed and the little table for craft and play time. So cute!

Miffy in the Snow
Image

How cute is this bento box - I wonder if Zoe would be more open to eating her vegetables if her lunch looked like this?

DSC_0734
Image

Love these DIY wall hooks - I might have to make some with Zoe.


Image

How can you not love a cup of tea while sitting in the sun. Gorgeous.

woolly winter weather
Image

Love this gorgeous crocheted blanket - especially the choice of colours.

Flour, sugar, coffee, tea
Image

I would love to have some vintage canisters for the kitchen - these ones are especially cute.

Live Action Sailor Moon Figures
Image

I used to be a major, major fan of Sailor Moon when I was in high school - ah those were the days watching cartoons before going to school. Good times.

DSCN9623
Image

I would love having a view like this outside my window - how lovely and peaceful, and perfect for getting your art on.

28/365
Image

Ah so pretty - and very suited to how I am feeling right now. Like the sun is finally rising - things are going to get better from now on.

Friday, March 11, 2011

20 Sweets in 20 Weeks - #14: Death by Chocolate Cupcakes

Death by Chocolate Cupcake

Before we talk baking I have to say thank you everyone for your kind words and support in regards to my post on post natal depression. It has been so wonderful reading through all of your lovely comments, knowing that I am not alone in this and that the blogging community is always there to give me big virtual hugs. It is funny, since I wrote that post I have actually started to feel a lot better in general - like a huge weight has been lifted from my shoulders. So thank you everyone for listening and not judging.

Now on to the cupcakes. First of all - why is it that each week the sweet that I want to win the poll never makes it. I was really hoping to make a Cherry Ripe cupcake! Sheesh! But seriously I was kind of hoping that Death by Chocolate wouldn't win because I'm not actually that big a fan of chocolate. So of course it did win - Murphy's law!

These cupcakes are quite devilish - a moist chocolate buttermilk cake filled and topped with dark chocolate ganache, then a swirl of white chocolate swiss meringue buttercream and finally drizzled with milk and white chocolate. Wowsers - that is a lot of chocolate! I had quite a few taste testers for these cupcakes because I brought them to a dinner party - and they were definitely a hit. So if you or someone you know are a chocolate lover you should definitely give these cupcakes a try.

Death by Chocolate Cupcake

Chocolate Buttermilk Cake (from The Australian Women's Weekly - Classic Cakes)
Makes 24 cupcakes

180g unsalted butter, softened
1 tsp vanilla extract
330g caster sugar
4 eggs, separated
110g self-raising flour
35g cocoa powder
180ml buttermilk
  1. Preheat oven to 180C. Line 2 12-hole muffin trays with cupcake papers.
  2. Beat butter, extract and sugar in a small bowl with electric mixer until light and fluffy. 
  3. Beat in egg yolks, one at a time, until just combined.
  4. Transfer mixture to large bowl, stir in sifted dry ingredients and buttermilk.
  5. Beat egg whites in clean small bowl with electric mixer until soft peaks form, fold into cake mixture in two batches.
  6. Divide mixture into cupcake papers and bake for approximately 20 minutes (or until a skewer comes out clean). Note: my oven is not tip-top so your cupcakes make bake quicker/slower.
  7. Allow to cool slightly in muffin trays and then move to a wire rack to cool.
Death by Chocolate Cupcake

Dark Chocolate Ganache

226g dark chocolate, in small pieces
2/3 cup thickened cream

  1. Place chocolate into a bowl.
  2. Bring cream to boil in a small saucepan, remove from heat immediately and pour over chocolate.
  3. Stir until chocolate melts.
  4. Place ganache in fridge and stir every 10 minutes until you reach a good piping consistency.
Death by Chocolate Cupcake

White Chocolate Swiss Meringue Buttercream

Follow the directions for Almond Swiss Meringue Buttercream, but omit the vanilla extract and almond essence, and instead add 200g of melted white chocolate that has been slightly cooled.

Assembling the Cupcake

  1. Cut out a well in each cupcake (eat the cut out piece :D).
  2. Fill the well with dark chocolate ganache (I piped in the ganache).
  3. Smear a layer of dark chocolate ganache on the top of the cupcake.
  4. Pipe a swirl of white chocolate swiss meringue buttercream on top.
  5. Melt 200g of milk chocolate, cool slightly and then coat the buttercream on each cupcake.
  6. Melt 100g of white chocolate, cool slightly, place in a piping bag and swirl onto the milk chocolate on top of each cupcake.
Zoe and Cupcake

Tuesday, March 8, 2011

20 Sweets in 20 Weeks - Voting time!

I will post the death by chocolate cupcakes on Friday, but in the mean time it is time to vote for the fifteenth sweet, and this time you are voting for...

Candy Necklaces
Image

Candy!

Almond Buttercrunch


Marshmallows


Fudge


You know what to do - get voting using the poll on the right hand side!

Monday, March 7, 2011

Move it to Lose It - Week 11

Move it to lose it - 12 Week Challenge

Starting weight: 75.2kg 
Previous weight: 70.7kg 
Current weight: 71.1kg

Argh. My first weight gain - only 400 grams but still I am very disappointed in myself. I only used the Wii Fit twice last week, and I did quite a bit of emotional eating. But seen as this is the last week of my challenge I am going to be trying really hard this week - going to jump on the Wii Fit every day and really watch what I eat. As long as I am back under the pre-pregnancy weight I will be happy, but it would also be lovely to get down to 70kg. I think that is wishful thinking though.

Sunday, March 6, 2011

♥ Weekly Favourites ♥

My room
Love the pom-pom garland and the mother inlaw tongues in this room. I think I need to make a pom pom garland.

1 2011
I wish my kitchen had this much storage - I totally have drawer envy right now.


I think I would spend all day in my bedroom if it looked like this - so very pretty.

~ home ~
For some reason I really love this door - perhaps it is all the pretty jewels hanging down in front of it. Whatever the reason is - I think it is cute.


How beautiful is this bouquet? I love having flowers in the house - they always pick up my mood.

up-cycled bookcase
I'm loving this book case - and the amount of books in it. I think I need to get the girls some more books. You can never have too many - right?


Love this bedroom. Bright white rooms just look so inviting to me for some reason.

Another corner of the studio
A very neat and organised room - and check out that orange! That would definitely keep me awake!

unfinished business
Love this styling - gorgeous colours, and I love the garland and birdies.

Kids' Space
What a cute little room for little people - nice, bright and bare - ready to get creative in!

Saturday, March 5, 2011

101/1001 Update

I've actually made more progress with my 101 in 1001 list - yay! I hope that I can keep on going with it and actually finish it off. In the mean time though here is what I crossed off of the list in February 2011...

Day 58 - Done

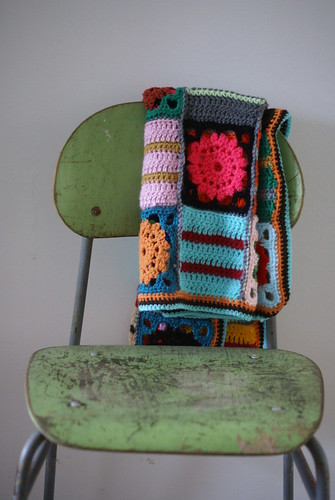
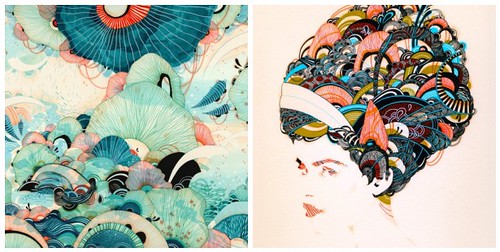
#41 Finish my mosaic pots

Finally finished these pots - and I am sooooo happy that they are done. I am going to post up a tutorial some time soon on how to mosaic a pot if anyone else wants to take on the challenge.

Enfermizamente cuadriculado
Image

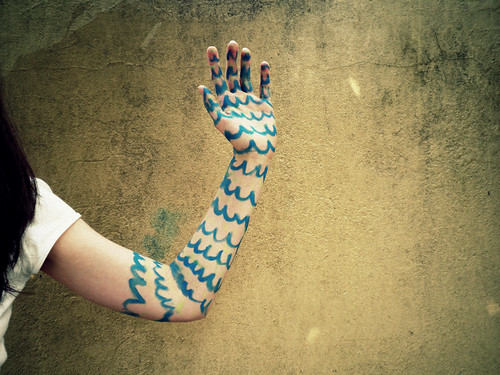
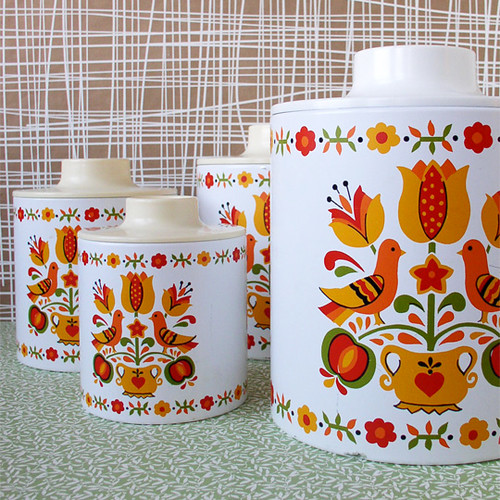
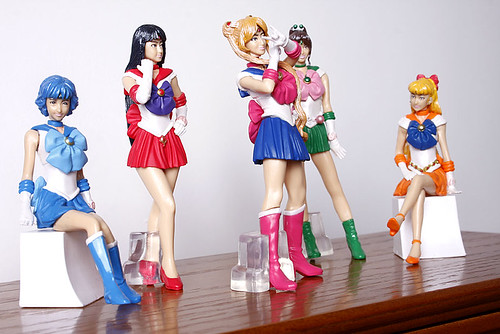
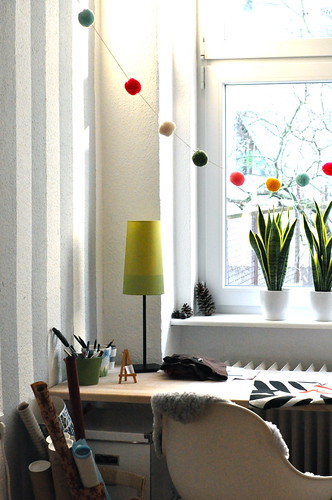
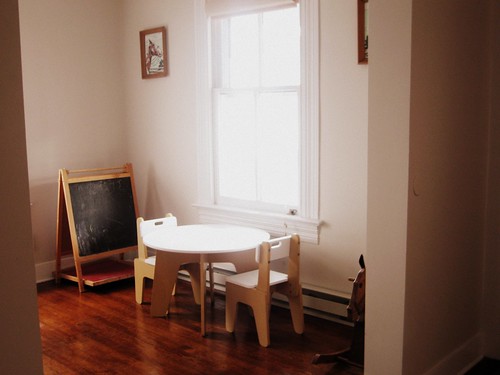
#44 Use my wacom tablet

I used it to design my new blog banner and badge - but I also want to use it to do some digital art. Just got to find the time!

Gardens

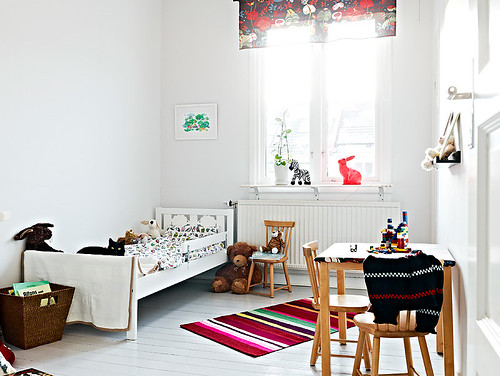
#56 Visit the botanical gardens in the city

It was a quick trip (since Grace spent nearly the whole time crying) but we went there - did that.

Moleskine Address Book
Image

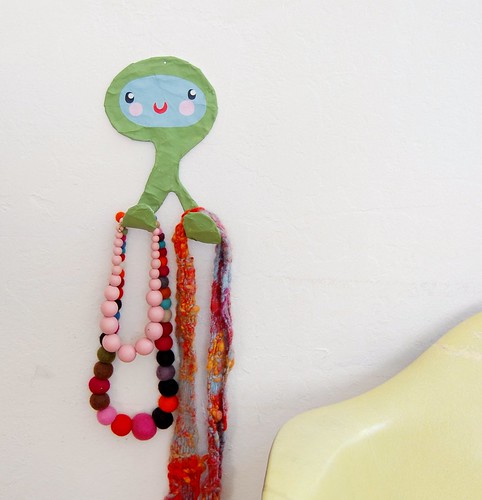
#95 Get a nice address book and fill it up with family & friends

I ended up getting a red moleskine address book and I lurve it - next year's diary is definitely going to be a moleskine.

eBay Logo
 Image

#96 Sell something on eBay

I sold two old baby carriers that I wasn't using - so proud of myself :P


I've also made some progress on a few other items:

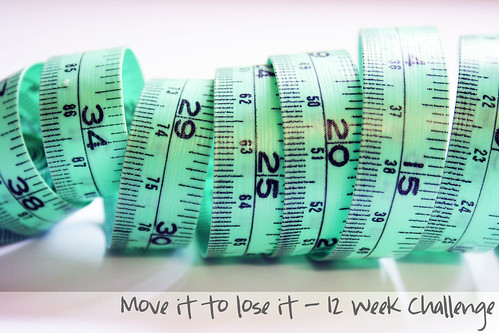
#1 - Achieve my goal weight of 60 kilograms
I am now down to 70.7kg - 10.7kg to go!

#14 - Save $5,000
I've now saved $2,178 - nearly half way there!

#45 - Complete a 365 day photo challenge
I started on the 1st of January and haven't missed a day yet!

#78 - Finish studying Marketing & Society
I started this on Monday - I'm now back in the books :P


And this month I want to work on...

#7 - Stop biting my nails
#9 Take a long relaxing bath
#18 Plant more succulents
 #32 - Toilet train Zoe
#78 - Finish studying Marketing & Society
#93 Buy something from Etsy

Friday, March 4, 2011

Grace - 4 months

Grace - 4 months old

I can't believe you are four months old already Grace - where did that last month go? Grace this month you have started developing your own little personality. You are smiling more and more every day - and when you smile it isn't just a little smile, you do it with your whole body. You let out your first giggle this month and it has to be one of the sweetest sounds I have ever heard. You are getting much better at grabbing your toys and I've seen you eying off your feet - you would love to grab on to them. You are still loving the boobs and you are sleeping like a little trooper - and for this mummy thanks you so, so much!

Grace - 4 months old
Your even getting into tummy time a bit more - trying to move around (but failing) to get your toys and trying to roll over.

Grace - 4 months old
We took you to the botanical gardens and...

Grace - 4 months old
You were not a fan.

Grace - 4 months old

But then I look into those eyes and how can I be angry with you - I love you baby girl! Can't wait to see what the next month brings.

Thursday, March 3, 2011

Etsy Picks

Etsy Picks - Hello Jenuine
Love Hello Jenuine for cute prints and cards. The Less Talk More Make in particular is really speaking to me at this point in time.

{ Pictured: Less Talk More Make Print and January Bear Print }

Etsy Picks - Oh, Little Rabbit
Love these screen printed homewares by Oh, Little Rabbit. Makes me wish I had some fancy tea towels instead of cruddy ones from Ikea.

{ Pictured: Gold Fish Flour Sack Towel and Rabbit Produce Bags }

Etsy Picks - Sweet Harvey
Sweet Harvey has gorgeous paper goods created on their vintage printing press and beautiful screen printed goodies too. I would love to have their flapper tote bag!

{ Pictured: Robot Book Plates and Flapper Tote Bag }

Etsy Picks - Fable & Fury
I love this unique jewelery by Fable & Fury. There are quite a few pieces that have deers in them - obviously they are my favourite.

{ Pictured: Night Owl Silhouette Necklace and Fawned of You Necklace }

Etsy Picks - Yellena
I am in love with these prints by Yellena - such wonderful colours and abstract shapes. Love, love, love them.

{ Pictured: Season Print and Maybe Print }

Wednesday, March 2, 2011

20 Sweets in 20 Weeks - #13: Red Velvet Whoopie Pies

Red Velvet Whoopie Pie

I first attempted making Red Velvet cake back in 2009 and I think it is safe to say that it was deemed a failure. I think I must have put to much baking powder in those cupcakes because they were extremely bitter. So when Red Velvet won the poll this week I was happy to be giving it another shot, but I was also worried that I would fail again. Luckily those worries were unfounded. I have now successfully made Red Velvet cake, in the form of whoopie pies!

That being said - I think I'm not a massive fan of Red Velvet cake - the flavour is a bit so-so to me, it just isn't sweet enough, or chocolatey enough, or anything really. But my goodness it sure does look pretty. In fact it looks out of this world! The bright red cake with the white cream cheese filling looks divine. And on another positive note my mum officially loved these whoopie pies - she said for her it was a flavour explosion - I guess we must have very different tastebuds? Who knows.

Anyways if you want to make some pretty whoopie pies and you want a 'not too sweet' cake then give these a try - they were extremely easy to make and very pretty to look at.

Red Velvet Whoopie Pie

Red Velvet Whoopie Pies (from Annie's Eats)
For the cookies:
2 cups plain flour
2 tbsp cocoa powder
½ tsp baking powder
¼ tsp salt
8 tbsp unsalted butter, at room temperature
1 cup brown sugar, packed
1 large egg
1 tsp vanilla extract
½ cup buttermilk, at room temperature
1 oz red food coloring

For the frosting:
8 oz cream cheese
5 tbsp unsalted butter, at room temperature
2 tsp vanilla extract (I only used 1 tsp)
2½ cups icing sugar, sifted
  1. Preheat the oven to 375˚ F and line 2 baking trays with baking paper.
  2. In a medium bowl, whisk together the flour, cocoa powder, baking powder and salt.  
  3. In the bowl of a stand mixer fitted with the paddle attachment, cream together the butter and brown sugar on medium-high speed until light and fluffy, about 2 minutes.  Beat in the egg until incorporated, scraping down the sides of the bowl as necessary.  Blend in the vanilla.  
  4. With the mixer on low speed, beat in about a third of the dry ingredients, followed by half of the buttermilk, beating each addition just until incorporated.  Repeat so that all the buttermilk has been added and then mix in the final third of dry ingredients.  Do not overbeat.  
  5. Blend in the food coloring.
  6. Annie piped hers to make heart shaped whoopie pies - I just used an ice-cream scoop to scoop out the batter on to the baking paper. 
  7. Bake for 7-9 minutes or until the tops are set, rotating the baking sheets halfway through (mine were a bit larger so I baked for 15 minutes).
  8. Allow the cookies to cool on the baking trays  at least 10 minutes, until they can be easily transferred to a cooling rack.  
  9. Repeat with any remaining batter.  
  10. Allow cookies to cool completely before proceeding.
  11. To make the cream cheese frosting, in the bowl of a stand mixer fitted with the paddle attachment beat the cream cheese and butter on medium-high speed until well combined and smooth, about 2-3 minutes.  Mix in the vanilla extract.  Gradually beat in the icing sugar until totally incorporated, increase the speed and then beat until smooth.
  12. Annie used a piping bag to pipe the cream cheese frosting on between two of the cookies - I just used a knife to spread it on through sheer laziness
  13. Once you have piped/spread on the cream cheese frosting on to the bottom of one cookie - sandwich it with another cookie - and voila! You are done. Now just repeat for the rest of the whoopie pies.

Red Velvet Whoopie Pie

Tuesday, March 1, 2011

20 Sweets in 20 Weeks - Voting time!

I will post up the Red Velvet Whoopie Pies tomorrow, but in the mean time it is time to vote for next week's sweet, and after a long absence from my blog - it is time to vote for...

I heart pink cupcakes

Cupcakes!

Banana Split

Death by Chocolate

Cherry Ripe

You know what to do - vote using the poll on the right hand side.