Friday, December 6, 2013

Sand Sculptures

Last Monday the girls and I took a trip down to Christies Beach to see the Sand Sculptures exhibition on the foreshore. The sculptures were absolutely amazing - so detailed and huge! The girls loved it and I was personally amazed. So many pretty things to look at...

Sculptures at Christies Beach

Sculptures at Christies Beach

Sculptures at Christies Beach

Sculptures at Christies Beach

Sculptures at Christies Beach

Sculptures at Christies Beach

Sculptures at Christies Beach

Sculptures at Christies Beach

Sculptures at Christies Beach

Sculptures at Christies Beach

Sculptures at Christies Beach

My personal favourite was probably the seahorse and the girls loved the mermaids, but really they were all amazing.

Tuesday, December 3, 2013

Week in Photos

Dirt Cake for Archer
A cake that I made for young Archer - and yep that is his head in the photo, checking out his cake. So cute.

Getting my quilting on
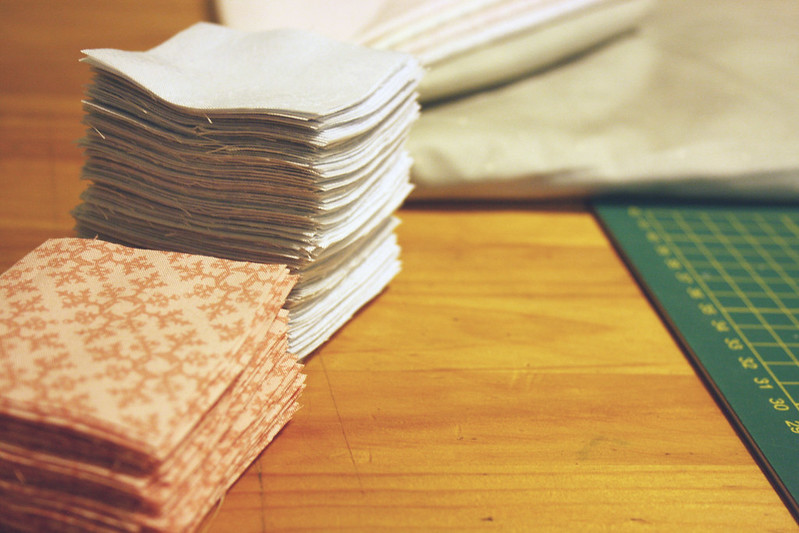
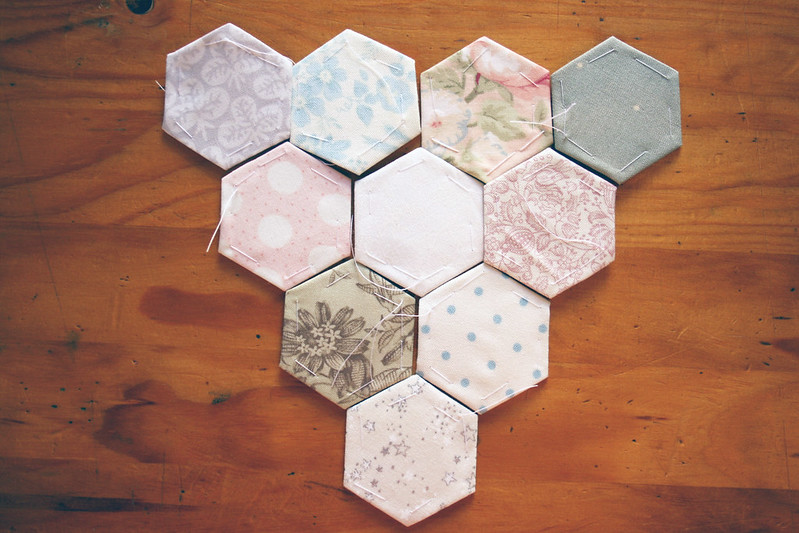
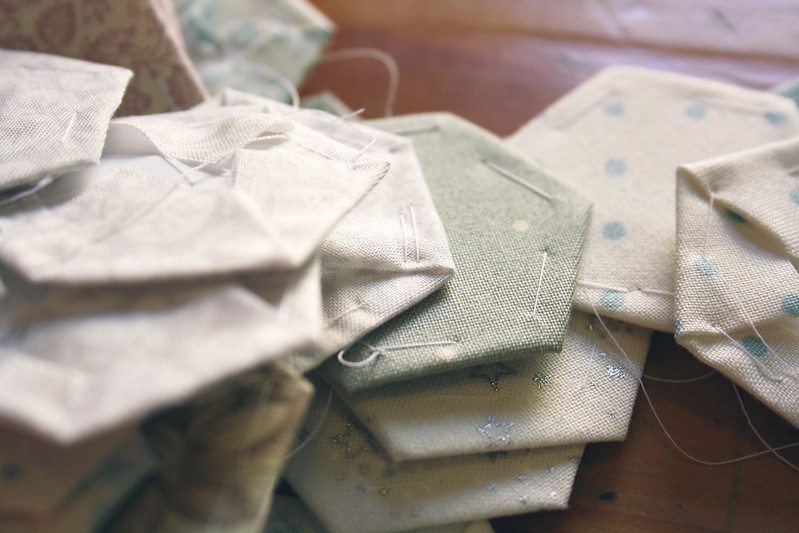
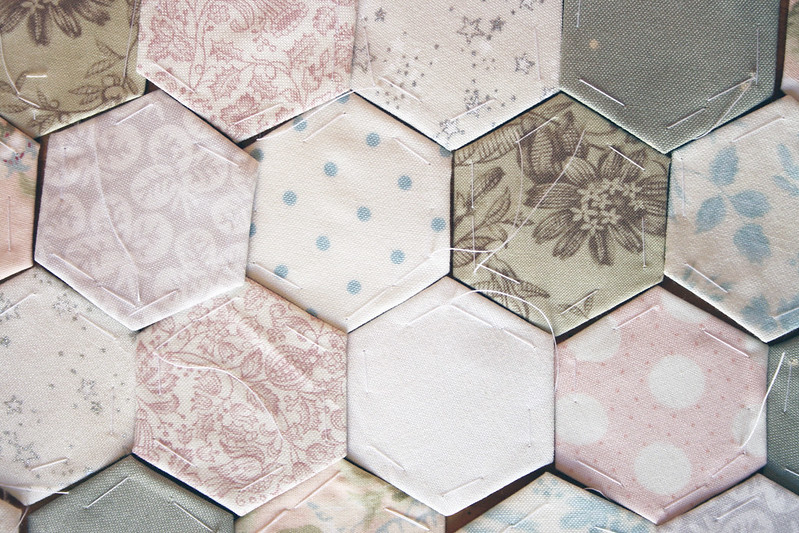
Slowly making progress on my mega huge quilt, almost finished cutting all of the fabric - just one more cutting session required.

Advent Calendar
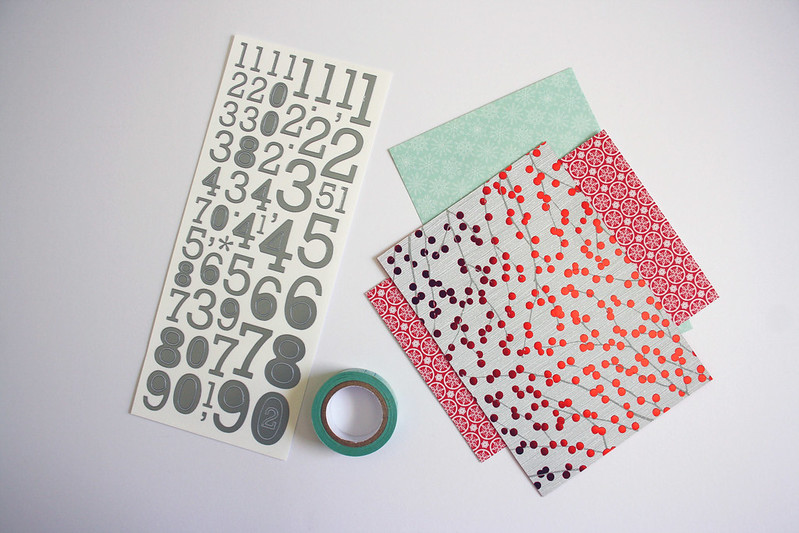
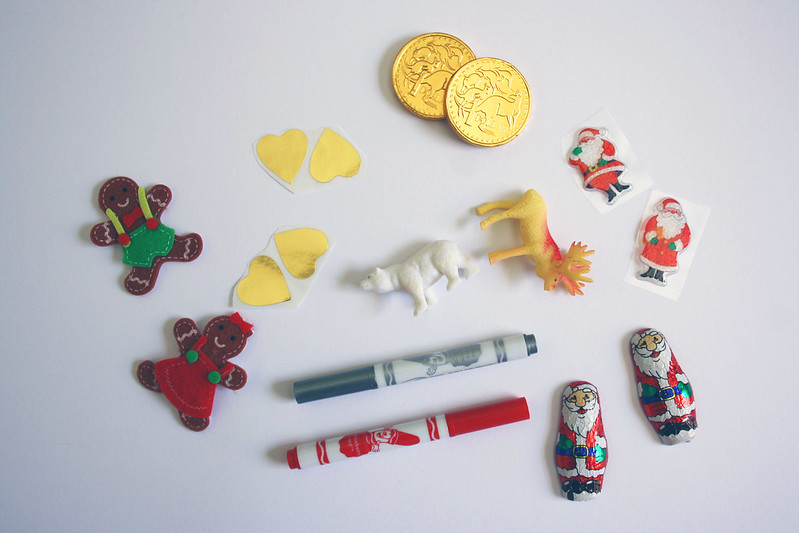
Our little advent calendar all finished and ready for the girls - and yes I do know that it only goes up to 21 - but that is the day their daddy comes to pick them up.

December 2013
All ready to party - and what a great party it was - hours of bouncy castle fun!

November 2013
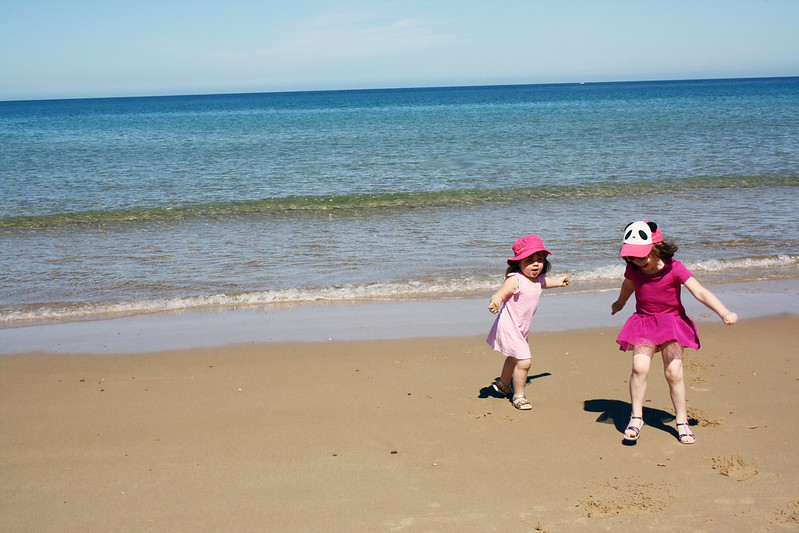
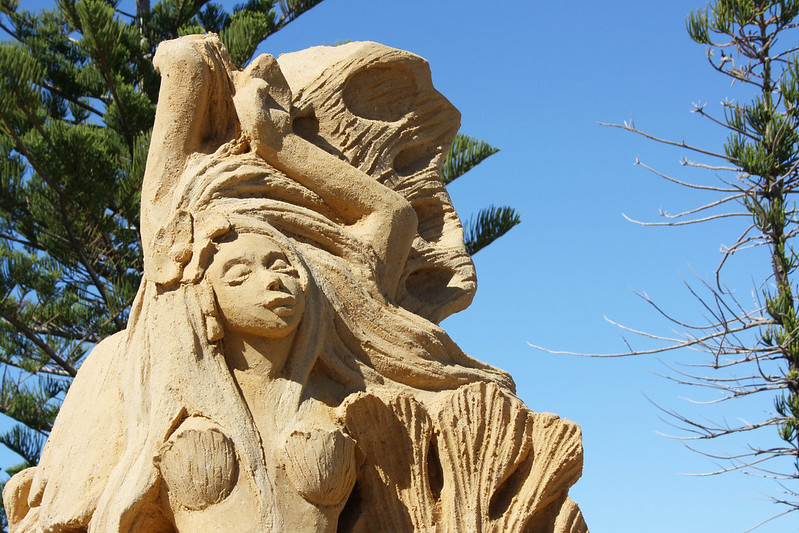
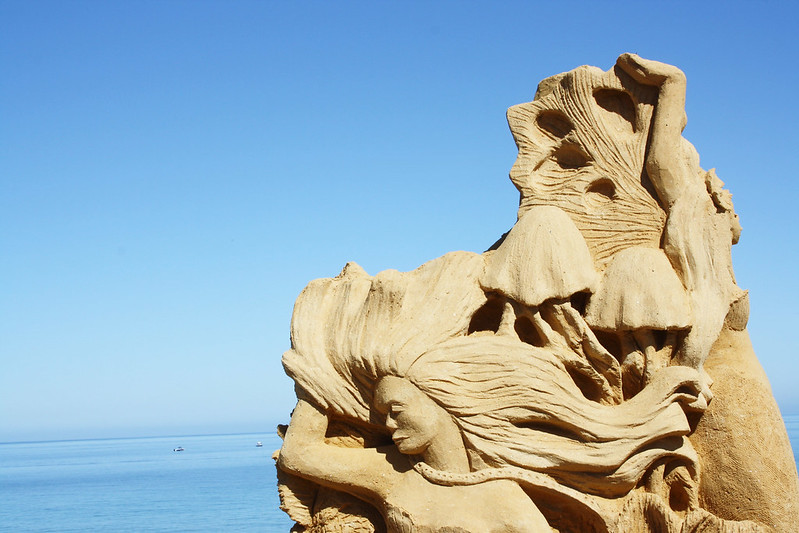
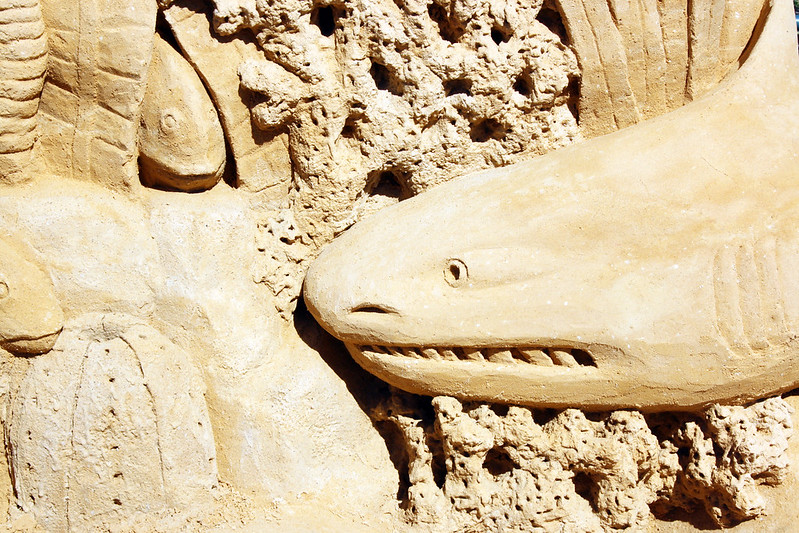
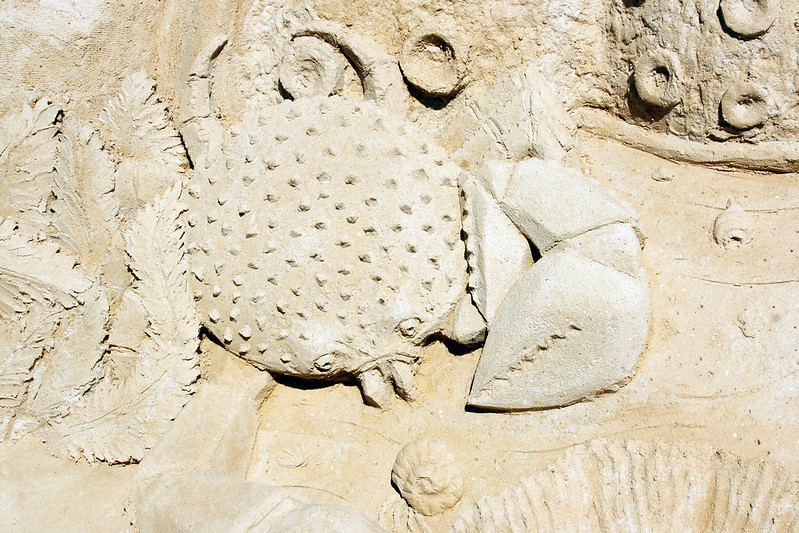
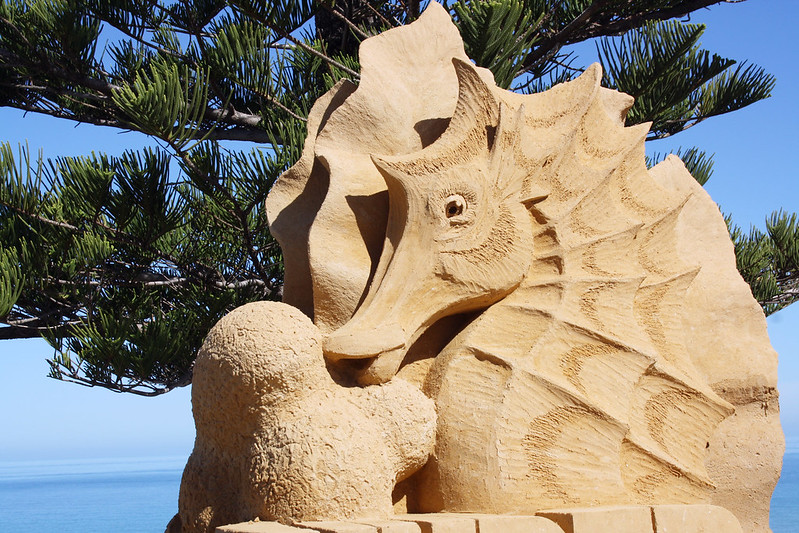
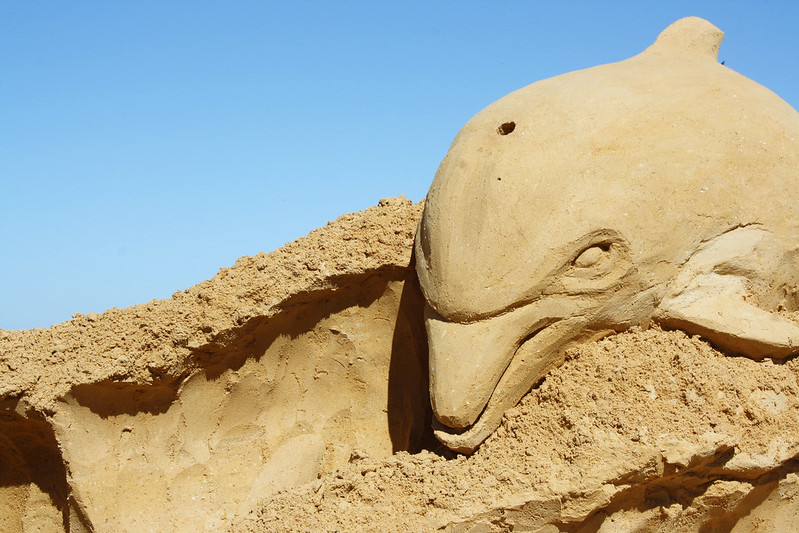
Fun at the beach on a beautiful (almost) summer day.

Zoe's welcome pack!
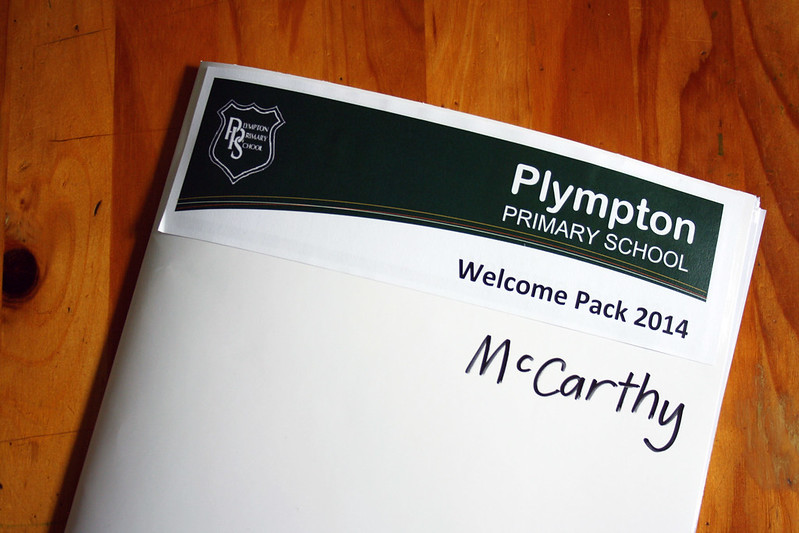
Getting ready for Zoe to go to school next year - so exciting!

Pom pom mania
Making a whole heap of pom poms for a friend - watching Lilo and Stitch and Sleeping Beauty made it lots of fun.

November 2013
Child care Christmas party fun - there were a few tears but the girls had great fun on the bouncy castle and dancing the night away.

November 2013
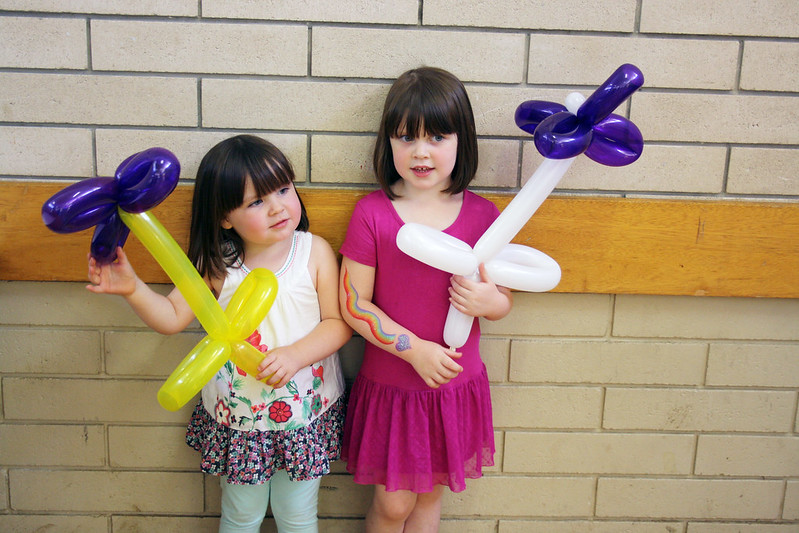
Another day another party - busy, busy!

December 2013
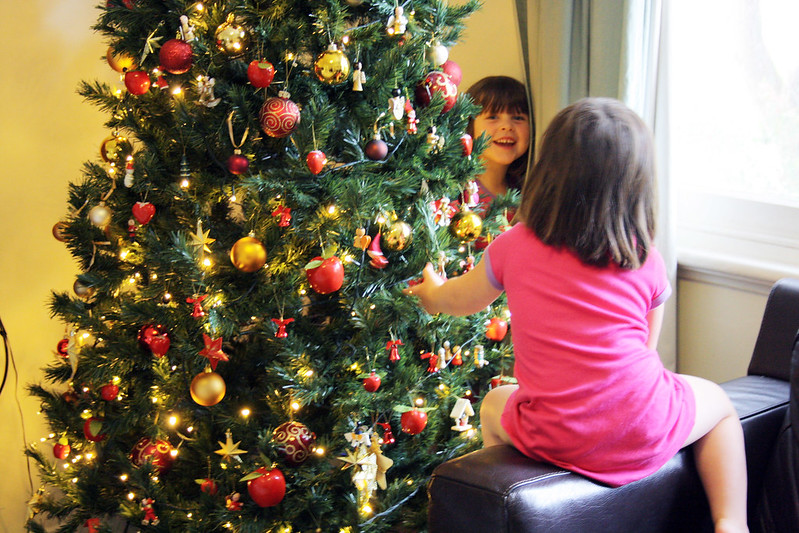
The tree is up and it is definitely beginning to feel a lot like Christmas, I love this time of year.

Friday, November 29, 2013

Our Simple Advent Calendar

Advent Calendar 2013

This year I wanted to keep our advent calendar really simple and cheap. So I decided to use some pretty Christmas card stock that I won in a giveaway a couple of years back to make little pouches.

Advent Calendar 2013

So to make my advent calendar I used washi tape, pretty Christmas card stock and number stickers. I simply folded each piece of card stock in half then taped up the two edges to make a small pouch. Then add a number to the front of the pouch - and voila! Easiest advent calendar ever! I will stick the pouches up on the wall ready for the girls to see on the morning of December 1st. Until then, it shall remain hidden in the cupboard.

Advent Calendar 2013

I'm filling these pouches with little things I found in the $2 shop (stickers, small toy animals, textas and chocolates) and with some Christmas activity ideas too - decorating the Christmas tree, visiting the Magic Cave, writing letters to Santa and going for a drive to see Christmas lights. Can't wait for December to start - so much Christmas fun to be had!

Wednesday, November 27, 2013

Confetti Biscuits

Confetti Biscuits

I love to bring a home made treat when I take the girls on a play date - and these Confetti biscuits are incredibly easy, cute and delicious too. Definitely give them a try if you are looking for a quick and easy biccy to make.

Confetti Biscuits
175g unsalted butter, chilled and chopped
2/3 cup caster sugar
2 cups plain flour
1 egg
2 tsp vanilla extract
180g white chocolate, melted
190g 100's and 1000's, to decorate

  1. Process the butter, sugar and flour until the mixture resembles breadcrumbs. Add egg and extract. Process until mixture comes together. 
  2. Turn dough onto a lightly floured surface. Knead gently. Divide mixture into 2 halves. Shape into 2 discs. Wrap both portions in plastic wrap and refrigerate for 30 minutes.
  3. Preheat oven to 170 C. Line 2 large baking trays with baking paper.
  4. Roll dough between 2 sheets of baking paper until 5mm thick. Then cut shapes, re-roll and cut scraps. Place the shapes 2cm apart on the trays and cook for 8 - 10 minutes, or until biscuits are golden and firm to the touch. Transfer to a wire rack to cool.
  5. Spread the tops of the biscuits with chocolate, then sprinkle with 100's and 1000's and set aside for 1 hour to cool.

Confetti Biscuits

Sunday, November 24, 2013

Week in Photos

Sparkly Water at Brighton
Beautiful sparkly sea water.

November
Miss had a lovely strawberry ice-cream on our trip to the beach.

November
Miss G puts on her concentrating face when using textas.

Rainbow by Zoe
And Miss Z drew me this beautiful rainbow.

New Supplies!
I bought these cute little deers on a trip to the cake decorating shop.

November
Miss Z fell asleep with her light on - absolutely dead to the world.

Tarot Night
I had a lovely night with my BFF reading tarot cards, contemplating life and drinking tea.

November
Miss G having a ride on a horsie - she was unsure at first, but loved it by the end.

November
And Miss Z thought that her bread face was hilarious, I think it just looks scary.

Monday, November 18, 2013

The mega huge quilt

Quilt Progress
So I may be officially insane. I have started a new project - a massive quilt for my bed that will be done using the English paper piecing technique. The really insane part? Each hexagon has a side length of 1", and that my friends means that I will be sewing up 2,936 hexagons for this quilt. Yep I am crazy.

Quilt Progress
I have chosen the colours based on the painting "Incarnation" by one of my favourite artists - Mark Ryden. If you enjoy a bit of pop surrealism and you haven't seen Mark Ryden's work then you really need to check it out - he is completely amazing.

Isn't it beautiful? Maybe this is where Lady Gaga got her inspiration for her meat dress from?

Quilt Progress
If you haven't heard from me in a while it may be because I have drowned in hexagons - please send help.

Sunday, November 17, 2013

Week In Photos

Blue skies smiling at me
The joy of blue skies on a beautiful spring day.

November
A trip to the park to make Miss Z and Miss G ecstatically happy.

Hello ladybug!
A quick visit by a cute little ladybuy.

November
Miss G getting into drawing.

Games Night - Nov 13
Games night with my peeps - hats were worn, virgin pina coladas were drunk, pizza was had, chips were destroyed and zombies were decimated.

Zoe's drawing
Miss Z did this special drawing just for me, she is such a talent.

November
Future foot models.

Zoe's drawing of Twilight Sparkle as a person
Miss Z's drawing of Princess Twilight Sparkle as a person - the tail is kind of unfortunately placed (oh dear).

November
Who would of thought that the promise of washing the car tomorrow would get two little girls to sleep so quickly. Mummy spoils them.

Friday, November 15, 2013

Mars Bar Bubble Slice

The girls and I have a play date tomorrow and I always like to bring something as a treat for the girls (and the mummies too), but I was feeling a little bit lazy today so wanted something quick and easy to make. Enter the Mars Bar Bubble Slice. Anything with only 4 ingredients and no baking required gets a tick in the lazy department - so this one is a winner.

Mars Bar Bubble Slice

Mars Bar Bubble Slice

You will need...
Mars Bar Bubble Slice

250g Rice Bubbles
2 x 53g Mars Bars
250g Milk Chocolate
170g Unsalted Butter
Sprinkles, to decorate (optional)

To start simply chop up your Mars Bars, chocolate and butter and put in a microwave safe bowl. Zap it in 30 second intervals, giving it a stir after each go, until the mixture is completely melted and smooth. Then in a massive bowl combine your melted mix with Rice Bubbles and stir until well combined.
Mars Bar Bubble Slice

Now grab a baking tray (mine was 25x30cm) and line it with baking paper. Then tip in your mixture and flatten it down as much as possible, so that the Rice Bubbles all stick together. At this stage I thought it needed a bit of prettying up, since it pretty much resembled hundreds of tiny poops, so we decorated with some sprinkles.
Mars Bar Bubble Slice

Now stick it in the fridge for at least one hour to set, then remove and carefully cut into squares or rectangles. Ta da. Finished. Kaput. Done.

I told you it was easy.
Mars Bar Bubble Slice